

A DC isolator can look like a simple switch, but it is working with high-voltage direct current from your solar panels. When it deteriorates, the problem may first appear as lost production, inverter errors or intermittent shutdowns. Knowing how to identify DC isolator faults helps you act before a minor component issue becomes a safety risk, extended generation loss or a more costly repair.
For solar owners, the key point is this: you can recognise warning signs, but diagnosis and any DC-side work must be completed by a licensed electrician with solar experience. A switch position alone does not prove that an isolator is healthy.
What a DC isolator does in a solar system
A DC isolator provides a means of isolating the solar array from the inverter. Depending on the age and design of the installation, it may be mounted beside the inverter, on the roof near the panels, or built into the inverter enclosure. It is one of several critical safety components that allow a technician to safely test, maintain or repair the system.
Unlike normal household AC power, DC electricity can sustain an arc when contacts are damaged or separated under load. That is why heat damage, moisture, poor connections and unsuitable components deserve prompt attention. Older rooftop installations can be particularly exposed to Canberra’s hot summers, frosts, heavy rain and hail events.
How to identify DC isolator faults from warning signs
A fault does not always leave an obvious mark. Some isolators fail internally, while others only cause trouble during high production periods when DC voltage and current are elevated. Changes in system performance and inverter behaviour are often the first clues.
Repeated inverter faults or unexpected shutdowns
If the inverter regularly displays DC isolation, insulation resistance, PV input, earth fault or low-voltage errors, the DC isolator should be considered as part of the investigation. These messages do not automatically mean the isolator is at fault. Damaged PV cables, water ingress in a connector, panel faults and inverter faults can produce similar alerts.
Still, an inverter that starts normally in the morning but trips later in the day, or one that shuts down after rain, needs proper testing. Recording the error code, date and weather conditions gives the electrician useful information and may shorten the diagnostic visit.
A noticeable drop in solar production
A gradual fall in output can be caused by panel soiling, shading, ageing modules or inverter performance. A sudden or intermittent loss is more concerning. If your monitoring shows production dropping to zero in full sun, recovering later, or producing less than expected on otherwise clear days, do not assume the panels are the cause.
A high-resistance connection inside a deteriorated isolator can restrict current and generate heat. The system may continue operating at reduced output before eventually stopping altogether. Comparing current production against previous similar seasons is more useful than comparing one cloudy day with another.
Discolouration, cracking or signs of water ingress
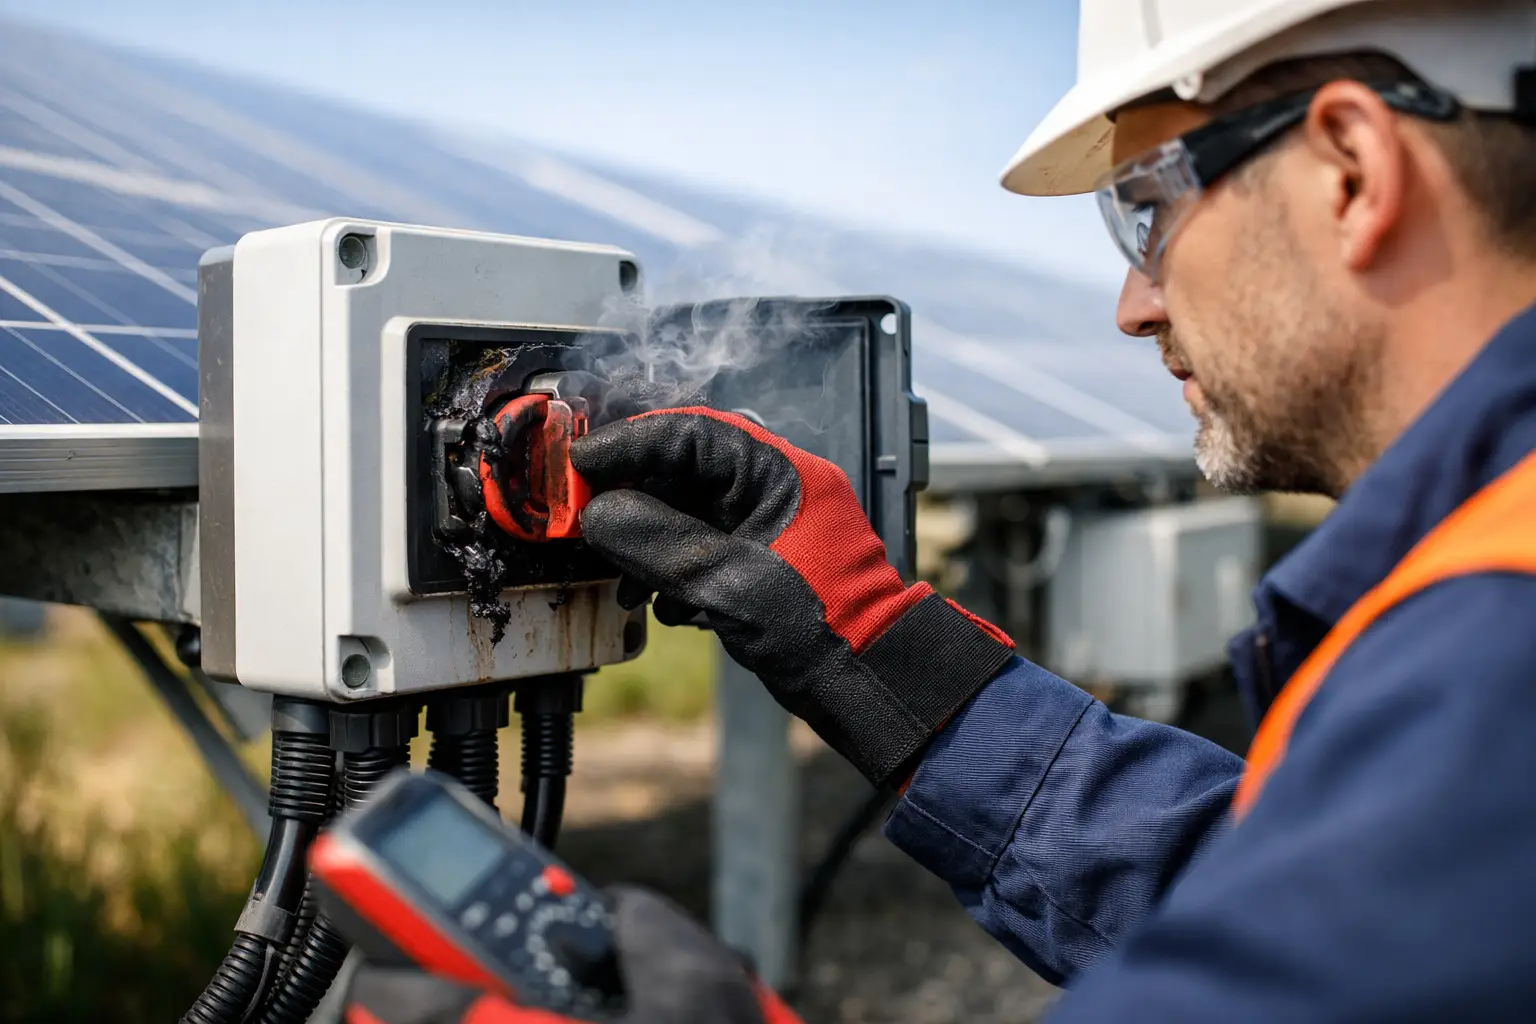
From a safe viewing position, look for a cracked enclosure, faded or distorted plastic, a loose cover, damaged conduit, or staining around the isolator. Brown marks, melted sections, corrosion and moisture behind a clear cover are all reasons to arrange an inspection.
Do not remove the cover, pull on cables or attempt to dry the enclosure. Even if the inverter appears off, solar panels can continue producing DC voltage whenever daylight reaches them. A roof-mounted isolator may also have concealed damage that cannot be assessed from ground level.
A burning smell, heat or unusual noise
A hot electrical smell, buzzing, crackling or visible smoke requires immediate action. Keep clear of the equipment and arrange urgent assistance from a licensed electrician. If there is an immediate fire risk, follow emergency advice and contact emergency services.
Heat is especially significant because it can indicate resistance, arcing or a failing connection. A qualified technician can use thermal imaging and electrical testing to identify abnormal temperature rise without relying on guesswork.
Why a visual check is not enough
A clean-looking isolator can still have worn contacts, a loose termination or moisture inside the enclosure. Conversely, an external mark may be old and unrelated to the current electrical condition. Proper fault finding combines visual inspection with measurements taken using appropriate test equipment and safe isolation procedures.
It also matters where the fault sits in the circuit. A failed DC isolator can resemble an inverter issue, while a damaged panel cable can look like an isolator fault. Replacing a switch without confirming the cause may restore operation temporarily, but it can leave the underlying defect in place.
For this reason, homeowners should not use a multimeter on solar DC circuits or try to test continuity, voltage or insulation resistance themselves. Solar strings can carry dangerous voltages, and incorrect testing can injure the person carrying it out or damage equipment.
How an electrician diagnoses a suspected DC isolator fault
A solar-qualified electrician begins by checking the system configuration, inverter history and reported symptoms. The job is not simply to replace the nearest switch. The aim is to find the source of the fault and confirm that the repaired system is safe to return to service.
Inspection of isolators, cables and connections
The inspection covers accessible DC isolators, inverter terminals, conduits, cable entries and PV connectors. The electrician looks for UV damage, split seals, unsuitable glands, loose fixings, corrosion, pest damage and evidence of heat. On roof-mounted equipment, this also includes checking whether water can pool, enter the enclosure or track along conduit.
Hail damage should not be overlooked. A storm can crack a cover, damage cable support or create a path for water ingress without causing an immediate shutdown. If your system has been through a significant hailstorm, inspection is sensible even when production appears normal.
Electrical testing under controlled conditions
The appropriate test method depends on the inverter, string configuration and suspected fault. Testing may include verifying DC voltage, string polarity, continuity where safe and applicable, insulation resistance, earth integrity and voltage drop across connections. The electrician will also assess whether the isolator operates correctly and whether its terminals show signs of overheating or poor contact.
These readings help separate an isolator fault from a cable, connector, panel or inverter problem. For example, low insulation resistance may point to moisture or damaged insulation elsewhere in the array. A thermal scan may reveal one isolator or connector running much hotter than comparable components under similar load.
Checking the inverter and production data
Inverter event logs can show when the fault occurred and whether it is linked to rain, high daytime temperatures or a particular PV input. Production data also helps establish whether the issue is isolated to one string or affecting the whole system. This evidence supports a repair plan based on the actual condition of the installation, not assumptions.
Common causes of DC isolator failure
Most DC isolator faults develop over time. UV exposure can degrade plastic enclosures and seals. Temperature cycling can loosen terminations. Water ingress can corrode contacts or reduce insulation resistance. Poor original installation practices, incompatible components or incorrect cable entries can also shorten service life.
Age matters, but it is not the only factor. A newer isolator can fail if it has been damaged by hail, installed in a location that traps water, or subjected to excessive heat. Equally, an older unit may continue operating safely if it was correctly installed, protected from weather and maintained when required. Testing is the only reliable way to assess the condition of the individual system.
What to do when you suspect a fault
Start by noting the inverter message, the time it occurred and whether there was rain, hail or unusually hot weather. Check your monitoring portal for changes in daily generation. Take photos only from a safe, accessible location and do not climb onto the roof or open electrical enclosures.
Arrange a solar inspection with a licensed electrician, particularly if the fault is recurring, the system has stopped generating, or there are visible signs of damage. Tell them whether the system has had recent storm exposure, previous repairs or anti-islanding testing notifications. This gives them a clearer starting point and helps ensure the inspection covers both performance and compliance needs.
If replacement is required, the repair should include more than fitting a new isolator. The electrician should inspect the associated wiring, connectors, glands and enclosure location so the same cause does not damage the replacement part.
A DC isolator is a small part of a solar system, but it has a large role in safety and reliability. Acting on early warning signs protects the return from your solar investment and gives you a clear, evidence-based path to repair rather than waiting for a complete shutdown.
Leave a Reply