


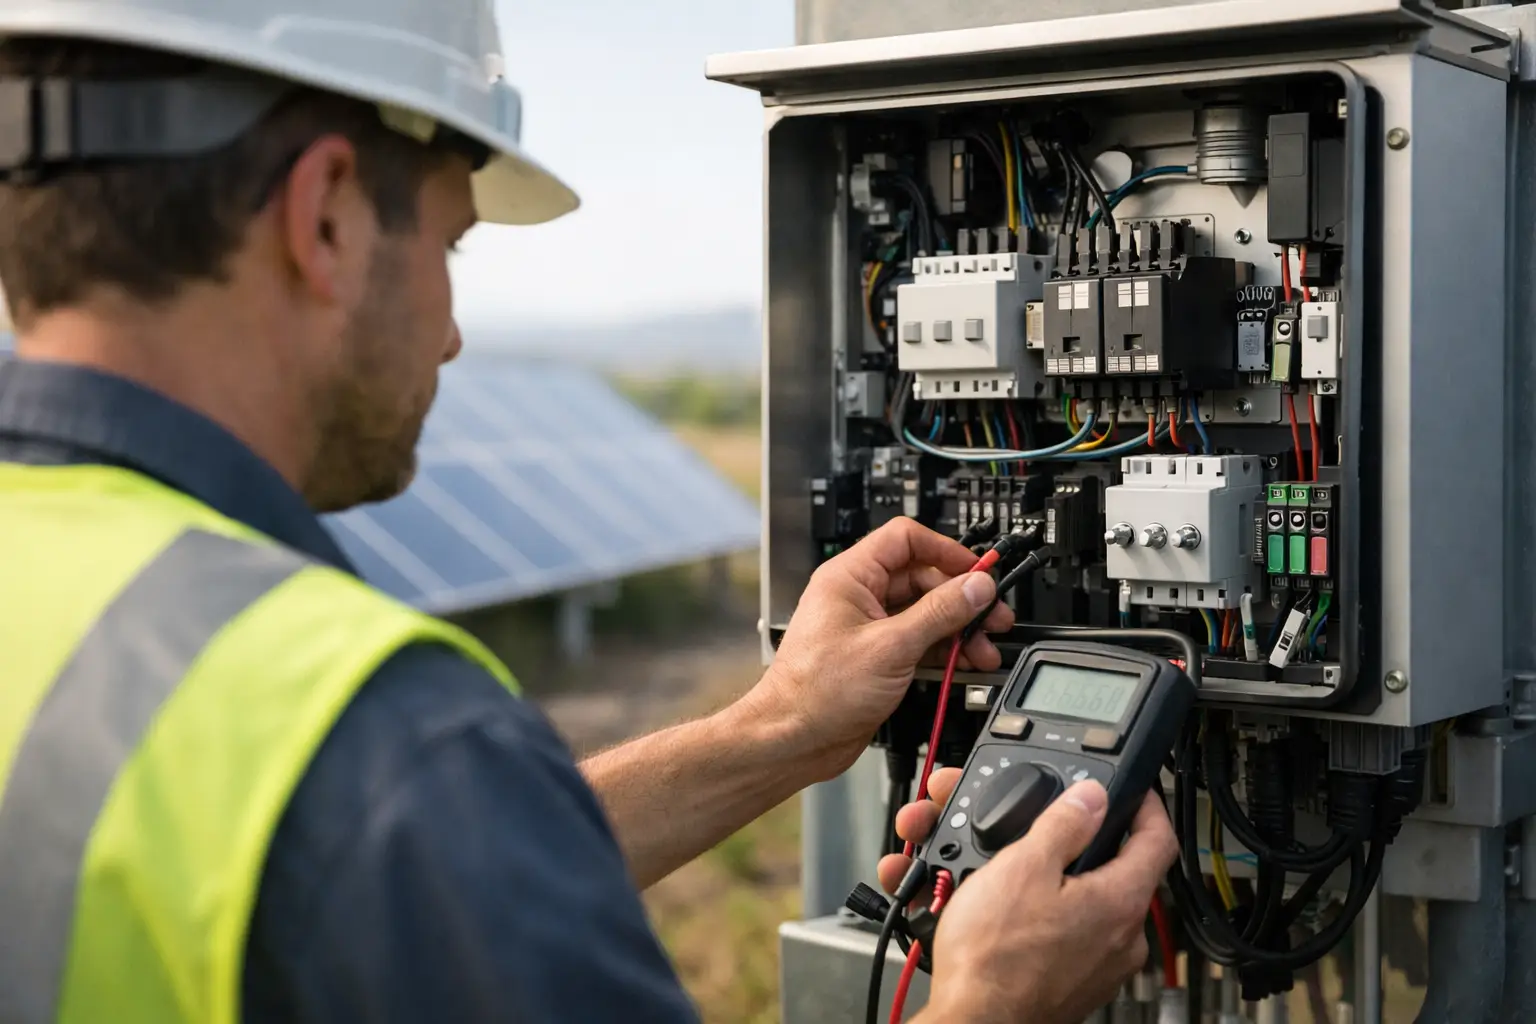
A solar system can appear to be working normally right up until the moment its grid protection is needed. The inverter relay test procedure checks whether the inverter will disconnect from the grid when it should, then reconnect correctly when supply conditions return. For ACT solar owners who have received an EvoEnergy testing notice, it is a compliance task with a very practical purpose: protecting line workers, your equipment and your investment.
This is not the same as checking that the inverter screen is on or confirming that the system generated power yesterday. A proper test examines the safety function that prevents your solar system from continuing to energise local electricity lines during a network outage. That function is commonly called anti-islanding protection.
What an inverter relay test actually checks
Grid-connected solar inverters constantly monitor the electricity supply. If voltage or frequency moves outside permitted limits, or the grid supply is lost, the inverter must stop exporting power within the required time. It must also wait for stable grid conditions before reconnecting.
The term “relay” can be slightly misleading on modern systems. Some older equipment uses distinct protection relays, while many current inverters carry out the protective switching and monitoring internally. The essential question is the same: does the system detect an abnormal grid condition and disconnect reliably?
A licensed electrician uses calibrated test equipment to simulate specified changes in grid conditions at the inverter connection point. The equipment records the inverter response, including trip values and disconnection times where applicable. Results are compared with the relevant inverter settings and network requirements.
The test is particularly relevant where a system has multiple inverters, has been altered since installation, or is old enough for component wear, poor connections or configuration changes to be a realistic concern. It can also reveal faults that would not be obvious from daily production figures.
Why anti-islanding testing matters
When the grid fails, a compliant grid-connected inverter must not keep supplying power into the network. If a solar system were to continue energising a line that has been isolated for repairs, it could create a serious hazard for electricity workers and damage equipment when supply is restored.
There is a financial side as well. A system with an inverter fault, unstable grid settings or deteriorating isolators can suffer nuisance shutdowns, lost generation and avoidable repair costs. Testing provides a point-in-time record of how the protection function performed, rather than relying on assumptions.
For Canberra and surrounding ACT properties, a network-requested anti-islanding test should be completed by an appropriately qualified electrician. Keeping the test record also helps demonstrate that the system has been maintained responsibly if a fault, insurance question or future system upgrade arises.
Inverter relay test procedure: what happens on site
The exact procedure depends on the inverter make, system layout and the reason for testing. A single residential inverter is generally straightforward. Multi-inverter systems, batteries, backup circuits and older switchboards require more care because the electrician needs to confirm what is connected, what can remain energised and how each device is configured.
1. Safety check and system identification
Testing starts with the physical installation. The electrician identifies the inverter or inverters, AC and DC isolators, main switchboard connection, labels and accessible protection devices. They check for obvious issues such as damaged enclosures, water ingress, brittle conduit, loose fittings, heat damage or signs of storm impact.
The system details matter. Inverter model, serial number, firmware where available, grid profile and configuration all help determine the correct settings against which the test will be assessed. If the system includes a battery or backup supply, its operating mode must be understood before any simulated grid event is introduced.
2. Visual and electrical condition checks
Before applying a relay test, the electrician confirms that testing can be completed safely. This may include checking switchboard condition, earthing arrangements, AC cable terminations and isolator operation. A relay result is only useful when the circuit supplying the inverter is itself safe and sound.
This stage can uncover issues that require attention before testing proceeds. For example, a cracked rooftop isolator, corrosion at an enclosure or a heat-affected cable termination should not be ignored simply because the inverter is still producing. Repair planning may be needed before the system is returned to normal service.
3. Controlled simulation of abnormal grid conditions
The inverter is then tested using suitable relay test equipment. Rather than creating an actual outage in the neighbourhood, the electrician applies controlled voltage and frequency conditions to assess the inverter’s response.
Depending on the equipment and applicable requirements, the test may assess high and low voltage, high and low frequency, loss-of-mains response and reconnection behaviour. The electrician observes whether the inverter disconnects, records the response, and confirms it does not reconnect prematurely.
This work should not be attempted by a homeowner. Inverters, switchboards and solar circuits contain hazardous voltages, and improvised tests can damage equipment or leave a system in an unsafe configuration. Switching the main supply off and watching whether the inverter display goes dark is not a substitute for a documented protection test.
4. Results, reset and reconnection checks
After the simulated fault condition is removed, the inverter should remain disconnected for its required reconnection delay, then return to normal operation once grid supply is stable. This matters because instant reconnection after an unstable event can place unnecessary stress on equipment and contribute to network issues.
The electrician restores the system to its normal operating state, confirms there are no active alarms that need action, and records the test outcome. If the inverter fails to trip, trips outside expected parameters, will not reconnect, or shows a relevant fault code, it should be treated as a fault requiring further diagnosis – not as a minor inconvenience to reset and forget.
What can affect the test result
A failed or inconclusive result does not automatically mean the inverter needs replacing. Sometimes the cause is a configuration issue, a communication problem, an incompatible grid profile or a fault in external switching equipment. In other cases, an ageing inverter or failed internal component is the likely cause.
The broader condition of the system can also matter. Water ingress, damaged isolators, vermin-affected cabling, loose AC terminations and surge damage may all influence safe operation. ACT weather can be hard on rooftop equipment over time, particularly where hail, heat cycling and moisture have affected older installations.
A good test process separates the immediate compliance result from the repair decision. If work is needed, you should receive a clear explanation of the issue, its safety or production impact, and the sensible next step. Some faults warrant prompt rectification; others can be planned alongside a wider maintenance visit or inverter replacement assessment.
Preparing your property for testing
You do not need to do electrical preparation yourself. It does help to ensure the electrician can access the inverter, main switchboard and any solar-related isolators without stored items blocking the area. If you have received a network notice, keep it available along with any previous solar paperwork you can find.
Let the electrician know before the visit if the system has a battery, backup power, frequent inverter alarms, storm damage, roof leaks or a history of unexplained low generation. These details can save time and ensure the scope covers the right equipment. If your mobile monitoring app shows recurring faults, screenshots can also be useful, though the on-site test and inspection remain the primary evidence.
When a relay test should include a wider health check
A standalone compliance test is appropriate when the system is otherwise known to be in good condition and the requirement is limited to anti-islanding verification. For an older system, a system with reduced output, or one that has been through hail or heavy weather, it is often more cost-effective to combine the test with a full health check.
That broader inspection can assess panel condition, visible roof damage, DC and AC isolators, cabling, inverter performance and likely repair priorities. It gives you more than a pass or fail result. It shows whether the system is still operating safely and producing as it should.
If your inverter relay test procedure identifies a problem, act on the written recommendation rather than allowing the system to run unchecked. Timely electrician-led testing and practical maintenance help keep your solar system compliant, safe and earning its keep for years to come.
Leave a Reply