

A solar system can appear to be working while quietly losing production. One affected panel, a weathered isolator or water entering a rooftop connection can reduce returns long before the inverter shows an obvious fault. This rooftop PV inspection checklist helps ACT solar owners separate the simple checks they can make from the electrical tests that need a licensed solar electrician.
The aim is not to climb on the roof or pull apart equipment. It is to spot changes early, protect your system’s safety and performance, and know when a professional inspection is justified. That matters especially after hail, high winds, heavy rain or when an older system is not producing as expected.
Start with a safe ground-level check
Begin where you can see the system without accessing the roof. Check the inverter display or monitoring app during daylight and compare current generation with what you would reasonably expect for the season, time of day and weather. A cloudy Canberra winter day will not match a clear summer day, so compare like with like rather than focusing on a single reading.
Look for error messages, warning lights, repeated shutdowns or a zero-output reading while nearby homes are generating. A brief interruption may be normal after a grid event, but recurring faults need investigation. Record the message, take a photo of the screen and note the date and weather conditions. That gives the electrician useful fault-finding information.
From the ground, look at the visible array for obvious debris, loose-looking panels, cracked glass, discolouration or bird activity. Do not use a ladder to get a closer look, walk on the roof, spray panels from the ground or touch cables and isolators. Rooftop solar includes live DC components when the sun is out, and faults are not always visible.
Rooftop PV inspection checklist: what to check
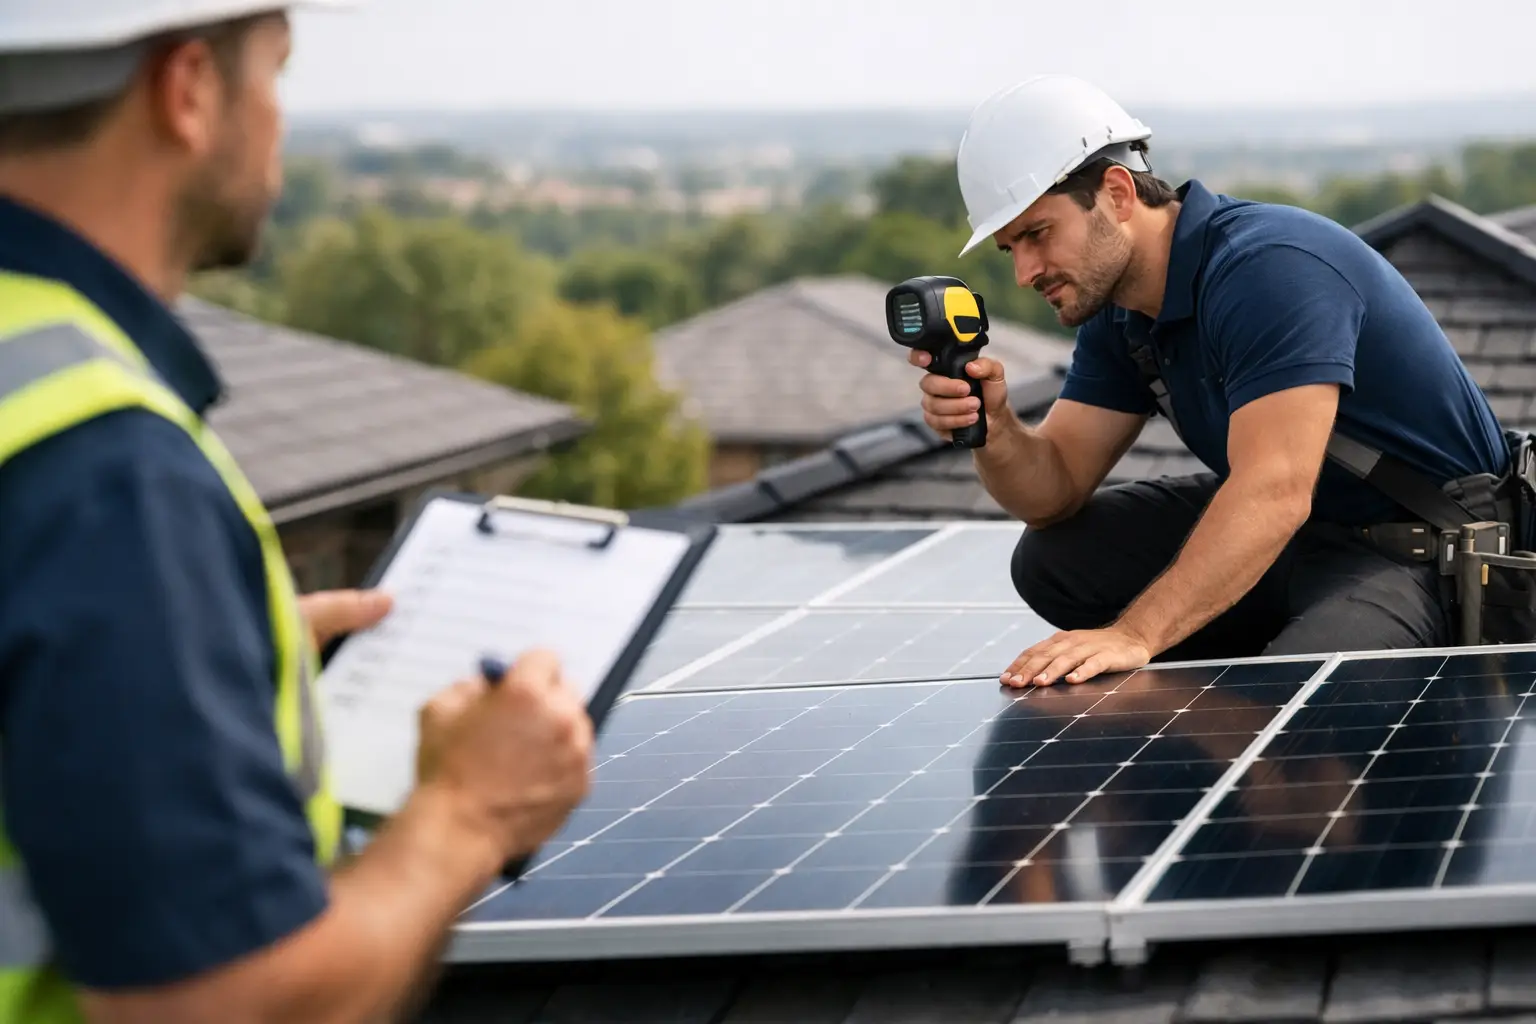
A complete inspection combines visual checks, production review and electrical testing. The exact scope depends on the age, layout and condition of the system, but these are the areas a proper rooftop PV inspection should cover.
Panels, mounting and roof condition
Panels should be secure, evenly aligned and free from obvious breakage. Hail can leave chips, cracks or impact marks that are difficult to see from below, while strong winds may affect clamps or mounting hardware. A panel can still generate after an impact but develop water ingress, hot spots or reduced output later.
The inspection should assess panel glass, frames, clamps, rails and roof penetrations. It should also look for signs that leaves, nesting birds or accumulated grime are shading panels. Cleaning is not automatically the answer. In many cases, normal rain removes loose dust, while the real loss comes from shading, damaged modules or an electrical fault. Cleaning should only be recommended where the condition of the panels supports it.
Roof condition deserves the same attention. Check for broken tiles, damaged flashing, corrosion around penetrations or evidence of water staining in the roof space where safely accessible. Solar mounting should not compromise the roof’s weatherproofing. If there is any concern about a leak after a storm, act promptly before timber damage or mould develops.
Cabling, connectors and rooftop isolators
Cables must be correctly supported, protected from sharp edges and kept clear of areas where water can collect. UV exposure, movement in the wind and pests can damage cable insulation over time. Loose or poorly secured wiring can eventually lead to insulation failure or a fault that only appears in wet weather.
Connectors and junction points need close visual assessment for signs of heat damage, cracking, discolouration or water ingress. These components should not be disconnected or tested by an unqualified person. DC connectors are safety-critical, and incompatible or poorly terminated connectors can create high-resistance joints that overheat.
Rooftop DC isolators are another common age-related concern. Their condition depends on the equipment type, exposure and installation location. A competent inspection checks that enclosures remain intact, seals are effective, labels are legible and there are no signs of moisture, corrosion or heat stress. If an isolator is deteriorating, replacement planning is preferable to waiting for a failure.
Inverter, AC equipment and switchboard
The inverter is where many system issues become visible. Check that its casing is intact, ventilation openings are clear and there are no unusual noises, smells, water marks or signs of overheating. An inverter placed in direct sun or a poorly ventilated location may run hotter and can reduce output to protect itself.
At the switchboard, the inspection should confirm that solar circuit labelling, warning signage and protective devices are present and in serviceable condition. It should also check for signs of heat at breakers, damage to enclosures and any changes that may have occurred after other electrical work at the property.
Do not remove switchboard covers or reset a solar breaker repeatedly. A tripped protective device may point to a genuine fault. Resetting it without identifying the cause can delay the repair and, in some circumstances, create a safety risk.
Production and system health
A visual inspection alone cannot prove that a solar system is producing correctly. Production data needs to be reviewed against the system’s size, orientation, historic figures and seasonal conditions. A gradual decline may be harder to notice than a complete shutdown, particularly if household bills have also changed.
System health checks can include inverter operation, string performance, voltage readings, insulation resistance and other electrical measurements appropriate to the installation. These tests help identify faults such as panel degradation, damaged cabling, poor connections or string issues that are not obvious from an app.
For systems with more than one inverter or multiple roof faces, each section should be assessed individually. A whole-of-system total can hide a poorly performing string or inverter if another section is still generating normally.
Anti-islanding testing is a separate requirement
If you have received a notice for anti-islanding testing, do not treat it as a general visual inspection. Anti-islanding protection is designed to ensure the inverter stops exporting power if the electricity network goes down. This protects network workers and is a grid compliance requirement.
The required test needs to be carried out and documented correctly. It may identify an inverter setting, connection or operational issue that needs rectification before the system can be considered compliant. Keep the test record with your solar paperwork, particularly if your retailer, distributor, insurer or future buyer needs evidence of maintenance and compliance.
For owners in the ACT, a notification is a good prompt to book a broader health check at the same time. It can be more practical to assess visible storm damage, generation concerns and inverter condition while the required test is being completed.
When to arrange a professional inspection
Some owners schedule inspections after a major storm or when mandatory testing is due. Others act because production has dropped or a fault code has appeared. Both approaches are sensible, but there are clear signs that should not wait.
Arrange electrician-led inspection if you notice any of the following:
- A burning smell, crackling sound, heat marks or melted plastic near solar equipment.
- Water inside an inverter, isolator or electrical enclosure, or a roof leak near the array.
- Cracked panels, hail damage, loose mounting components or fallen debris on the system.
- Repeated inverter errors, unexplained shutdowns or a material drop in generation.
- Damaged cables, chewed insulation, missing labels or an isolator that appears weathered or broken.
If there is an immediate electrical safety concern, keep clear of the equipment and arrange urgent assistance. Do not attempt a rooftop repair yourself.
Keep useful records between inspections
A simple record makes maintenance decisions easier and avoids relying on memory. Keep installation documents, inverter manuals, warranties, anti-islanding test results, photos after major weather events and notes on faults or repairs. Check monitoring data periodically, not obsessively. A monthly glance is usually enough to spot a sustained change, while a system that has stopped generating needs attention straight away.
Solar Testing and Maintenance approaches inspections as aftercare for an asset that should continue earning its keep. The right repair may be minor, but finding it early can prevent lost generation, water damage or a more expensive equipment failure.
Your rooftop solar does not need constant attention, but it does need informed attention. A safe visual check, sensible monitoring and timely professional testing give you the best chance of keeping it productive through Canberra’s heat, frost, hail and everything in between.
Leave a Reply