

A sudden drop in generation is not always a panel problem. It may be a tripped breaker, a failed isolator, water in a connector, inverter derating, shading, or a grid-related shutdown. This guide to rooftop solar fault diagnosis helps ACT solar owners recognise what can be safely checked from the ground, what needs electrician-led testing, and why acting early protects system output, compliance and repair costs.
Start with the evidence, not assumptions
Your inverter, monitoring app and electricity bill usually provide the first clues. Compare current daily generation with the same season in previous years, allowing for weather. A cloudy week will affect production, but a sharp and ongoing decline on clear days deserves investigation.
Take note of error messages, warning lights and the time faults occur. An inverter that shuts down around midday may be overheating or reducing output due to high grid voltage. A system that is offline every morning may have a supply, communication or inverter issue. These details help narrow the fault before testing begins.
Do not open rooftop isolators, inverter covers or switchboard equipment to investigate. Solar systems contain live DC and AC circuits, and panels can continue producing DC power whenever they are exposed to daylight. A visual check from a safe location and a record of the symptoms are useful. Electrical diagnosis and repair are not DIY work.
Common signs your rooftop solar system needs attention
Some faults are obvious, while others quietly reduce the return from your system for months. Arrange a professional inspection when you notice four or more of the following, or when any electrical safety concern is present:
- generation is materially lower than expected during clear weather
- the inverter shows a red light, fault code or repeated restart message
- monitoring has stopped reporting, or one inverter is missing from a multi-inverter system
- the system regularly switches off or trips a circuit breaker
- you can see cracked glass, damaged panels, loose conduit or evidence of storm impact
- there are signs of water ingress, corrosion, burning, discolouration or pest damage around accessible equipment
- a distributor or energy retailer has issued a notice requiring anti-islanding inverter testing.
Hail, wind, heat cycles and Canberra’s cold winters can expose weaknesses in ageing installations. Damage is not always visible from the ground. Fine panel cracking, deteriorated cable insulation and compromised connectors may continue to affect output long after a storm has passed.
Low generation does not automatically mean failed panels
Panels gradually degrade over time, but normal degradation is generally slow. A major year-on-year drop is more likely to involve an operational fault, extra shading, soiling, an inverter issue or a string problem.
Trees grow, new structures cast shadows and seasonal sun angles change. Dirt can also reduce output, although cleaning is not the answer to every underperforming system. A technician should first establish whether the loss is caused by soiling, shading or an electrical fault. Cleaning panels while a failed string or faulty inverter remains unresolved will not restore expected production.
Inverter warnings and unexpected shutdowns
The inverter is the working centre of most rooftop systems. It converts DC electricity from the panels into usable AC power and disconnects from the grid when required. Fault codes can relate to insulation resistance, grid voltage, earth faults, internal inverter components, DC string voltage or communication errors.
The same message can have different causes depending on the system design and site conditions. For example, a grid-voltage warning may be linked to local network conditions, cable sizing, connections or inverter settings. Resetting an inverter may clear a temporary alert, but repeated faults need proper investigation rather than repeated resets.
A practical guide to rooftop solar fault diagnosis
A reliable diagnosis follows a sequence. It is not simply a matter of replacing the component named in an inverter error message. Qualified solar fault finding starts by confirming the system’s condition and safely isolating circuits where needed.
1. Review production, history and site conditions
The first stage is to check system size, age, inverter model, generation history and any alerts or distributor notices. The technician also considers recent storms, roof work, pest activity and changes to shading. This establishes whether the problem is sudden, gradual, weather-related or tied to a particular part of the system.
For systems with multiple inverters or panel strings, comparing each section is particularly useful. One weak string can be hidden by otherwise reasonable total generation, yet it can still represent a significant loss over a year.
2. Inspect accessible equipment and rooftop components
A visual inspection checks the inverter, switchboard interface, AC and DC isolators, conduit, cabling, mounting hardware and accessible panel condition. The aim is to identify wear, damage and installation issues that can affect safety or performance.
Water ingress and deteriorated isolators are common concerns on older systems. UV exposure can affect cable protection, while birds and rodents can damage wiring. On the roof, a trained technician looks for loose modules, cracked panels, damaged junction boxes, corrosion and signs that weather has affected the installation.
3. Test electrical performance and safety
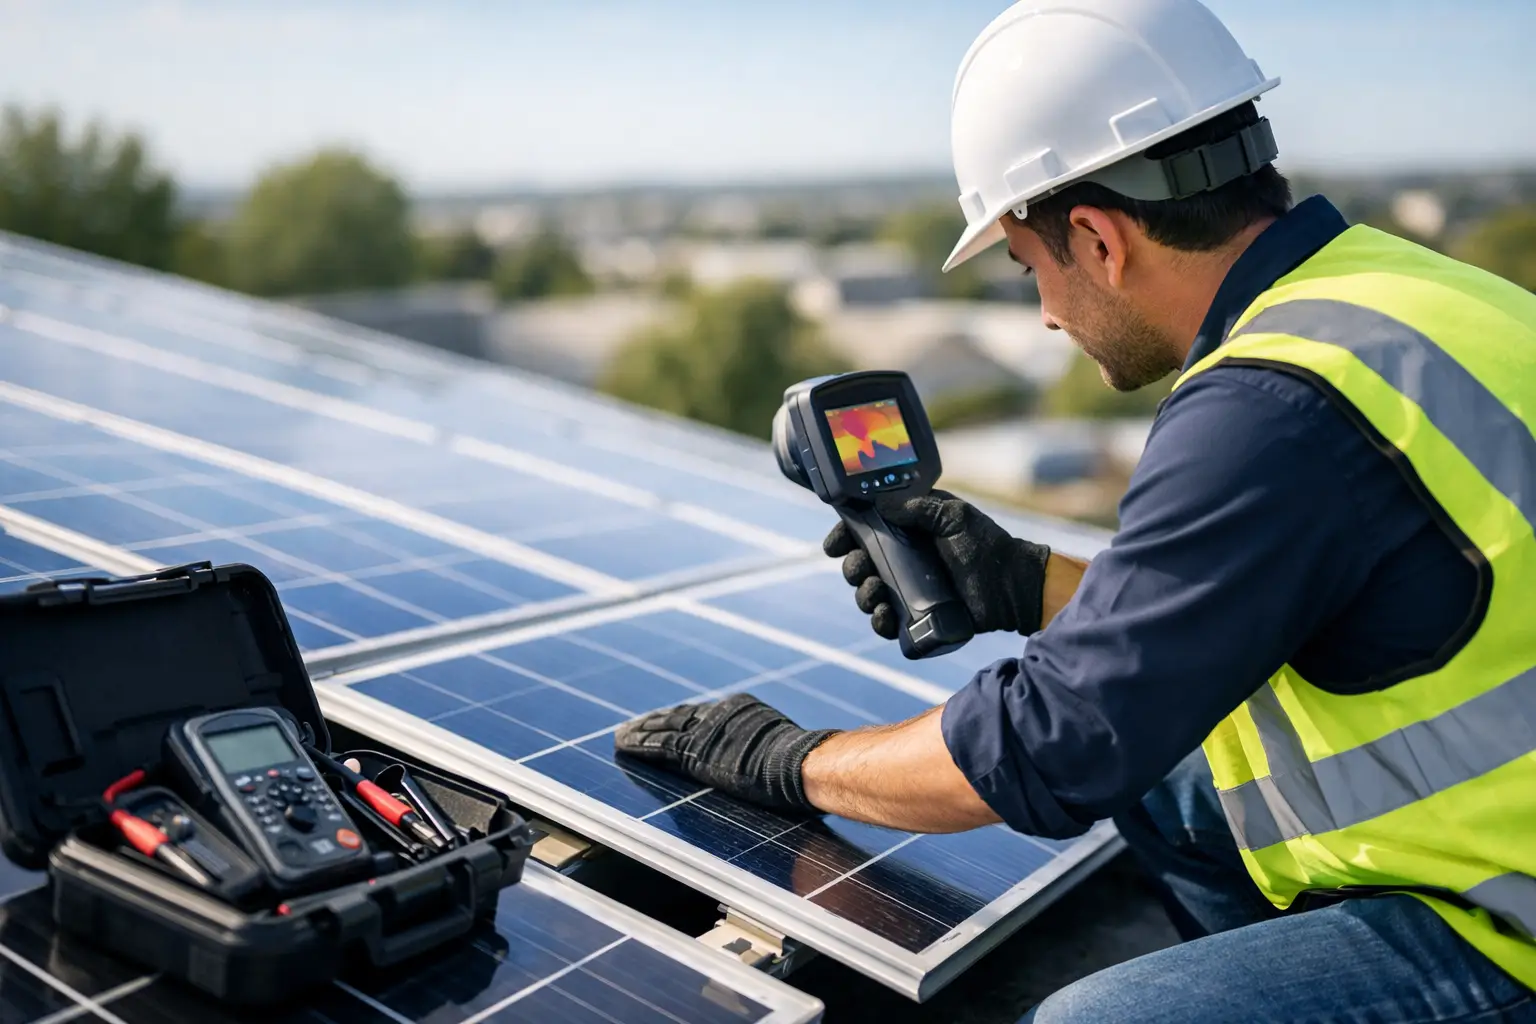
Testing is where fault diagnosis moves beyond guesswork. Depending on the system and symptoms, this can include DC string voltage and current checks, insulation resistance testing, polarity verification, AC voltage checks, earthing checks and performance comparison between strings or inverters.
These results help identify whether the fault lies with the panels, wiring, connectors, isolators, inverter or grid connection. They also determine whether a component is safe to keep operating. An output issue may be inconvenient; an insulation or connection fault can become a safety issue and should be dealt with promptly.
4. Confirm anti-islanding operation where required
Anti-islanding protection ensures a solar inverter disconnects when the grid supply fails. This protects network workers and supports grid compliance. If you have received a notification for anti-islanding testing, do not treat it as a paperwork exercise. The test confirms the inverter responds correctly under prescribed conditions.
A compliant result provides confidence that the system is operating as intended. If the system does not pass, the next step may involve settings, wiring, inverter assessment or repair planning. The required remedy depends on the test result and equipment condition.
5. Receive clear repair priorities
Not every defect needs the same response. A good fault report separates urgent safety work from performance improvements and items to monitor. For example, a compromised isolator or damaged cable may require prompt repair, while modest panel soiling may be scheduled with routine maintenance.
For older systems, repair versus replacement depends on the component, remaining system life, parts availability and expected energy recovery. Replacing an inverter can make financial sense if it is repeatedly failing or significantly limiting output. Replacing panels for minor age-related degradation may not. The right decision comes from measured results, not assumptions.
What you can check safely before booking
You can check whether the inverter display is showing a fault, confirm the generation shown in your monitoring app, and look for obvious storm damage from the ground. Photograph any error code and record the date, weather conditions and whether the problem is constant or intermittent.
You can also check that accessible labelled solar switches have not obviously been moved from their normal operating position, without touching damaged, wet, hot or suspect equipment. If you smell burning, hear arcing, see smoke, notice a damaged enclosure or find water entering electrical equipment, keep clear and arrange urgent help from a licensed electrician.
Avoid climbing onto the roof, removing covers, unplugging connectors or attempting to reset equipment repeatedly. Those actions can create a greater hazard, complicate fault finding and potentially affect insurance or warranty arrangements.
Why early testing protects your solar return
A solar fault does not need to stop generation completely to cost money. A weak string, intermittent connector, inverter derating issue or partial panel damage can quietly reduce production while the system still appears to be operating. The longer the fault remains, the more solar generation you may lose.
Early testing also helps identify defects before they become more expensive repairs. Small water-entry issues can develop into corrosion. A loose connection can generate heat. Storm damage that is documented promptly may also be easier to assess for insurance purposes.
For Canberra property owners, routine system health checks and required anti-islanding testing are practical maintenance, not unnecessary extras. Solar Testing and Maintenance provides electrician-led inspection, testing and clear repair recommendations for existing systems, so you can make a decision based on the actual condition of your equipment.
If your system is producing less than it should, reporting repeated inverter faults or due for mandated testing, keep a record of the symptoms and arrange qualified assessment. A measured diagnosis is the quickest path to safe operation and a solar system that continues to earn its keep.
Leave a Reply